Follow these instruction to use the GitHub template repository to create your own book for this workshop:
Go to this repository
Click the green button
use this templateand clickcreate a new repository.Choose a proper name of your repository (this will be also part of your URL!) and choose the option
public.In your repository, click on
settingsand in the left menu on Pages and chooseGithub Actions
Figure 1:Follow these steps to create your own repository from the template.
Click on
codeand click on thegear-icon(near About) at the right site of the page.Check the box Use your GitHub Pages website.
Go to
Actionsin the topmenu, click on the (red)initial commitand clickre-run all jobs
The book will now be deployed again - where now it can actually load GitHub pages.
Figure 2:Follow these steps to create your own GHpages from the template.
Use the book link (
codebelow About) to your Github page where the book is hosted.The output resembles Figure 3.
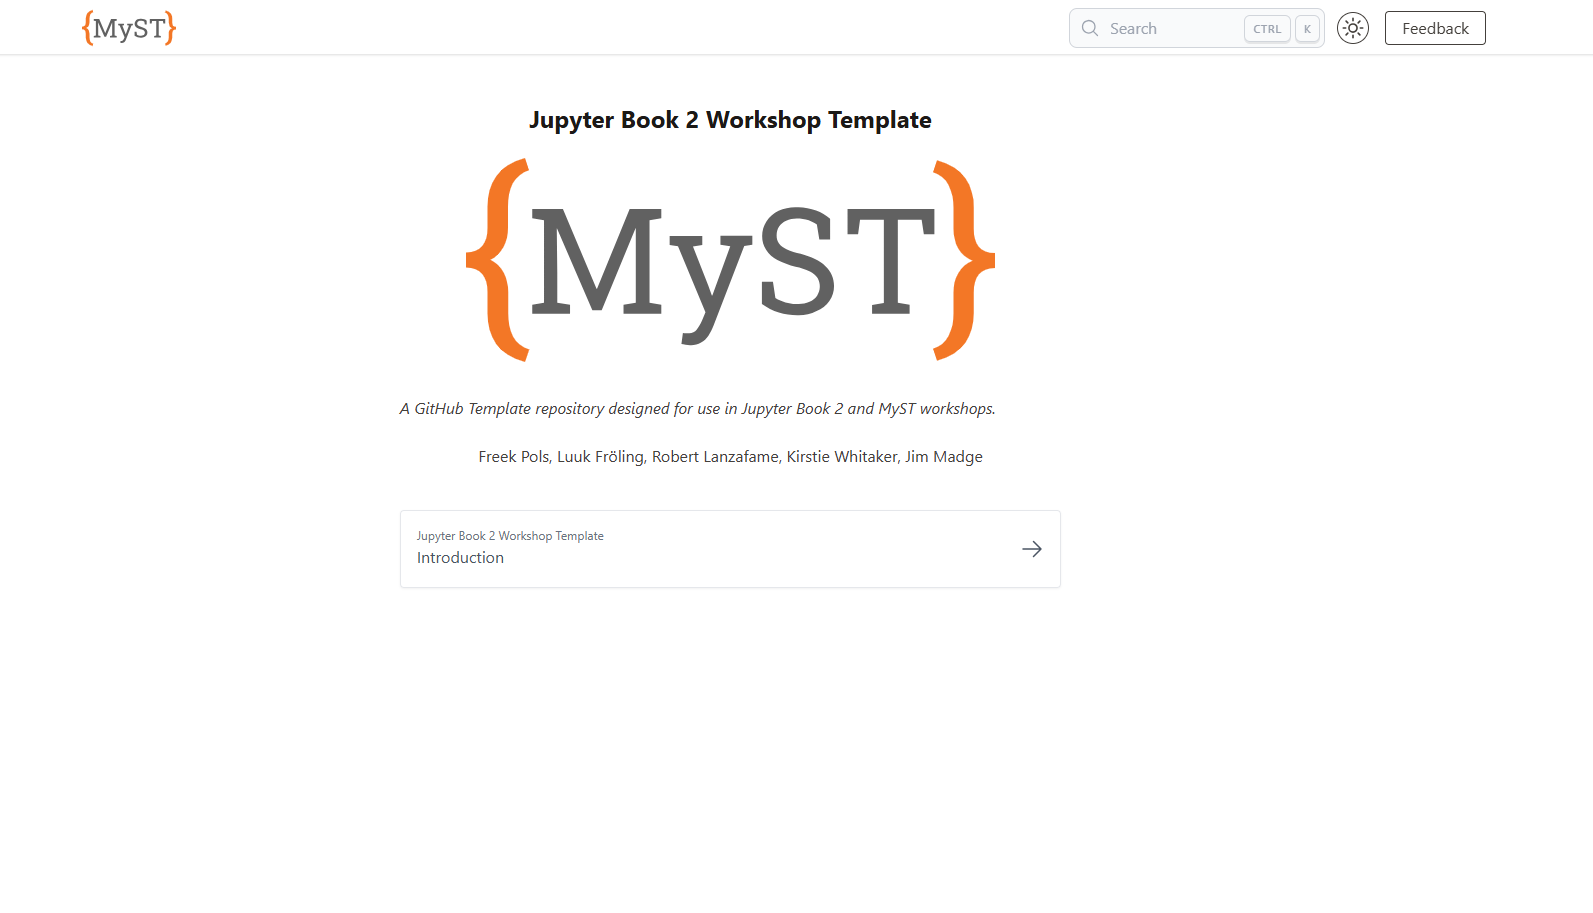
Figure 3:Once the book has been deploy, you can visit your site which looks like this.
Repo folder structure
Your GitHub repository looks like the one shown in Figure 4. We have the following subfolders:
Content: the source files of your book (in markdown or jupyter notebook format)
Exports: the folder which may include a pdf export of your book
Figures: the folder which includes figures for your book (could be in content folder)
Lessons: the folder which includes the lessons of this tutorial (could be in Content folder)
.github/workflows: the folder which includes the GitHub Actions (automated workflows) to build and deploy your book
css: the folder which includes the custom css file to change the layout of your book
pdf_template_book: the folder which includes the typst template to create a pdf export of your book
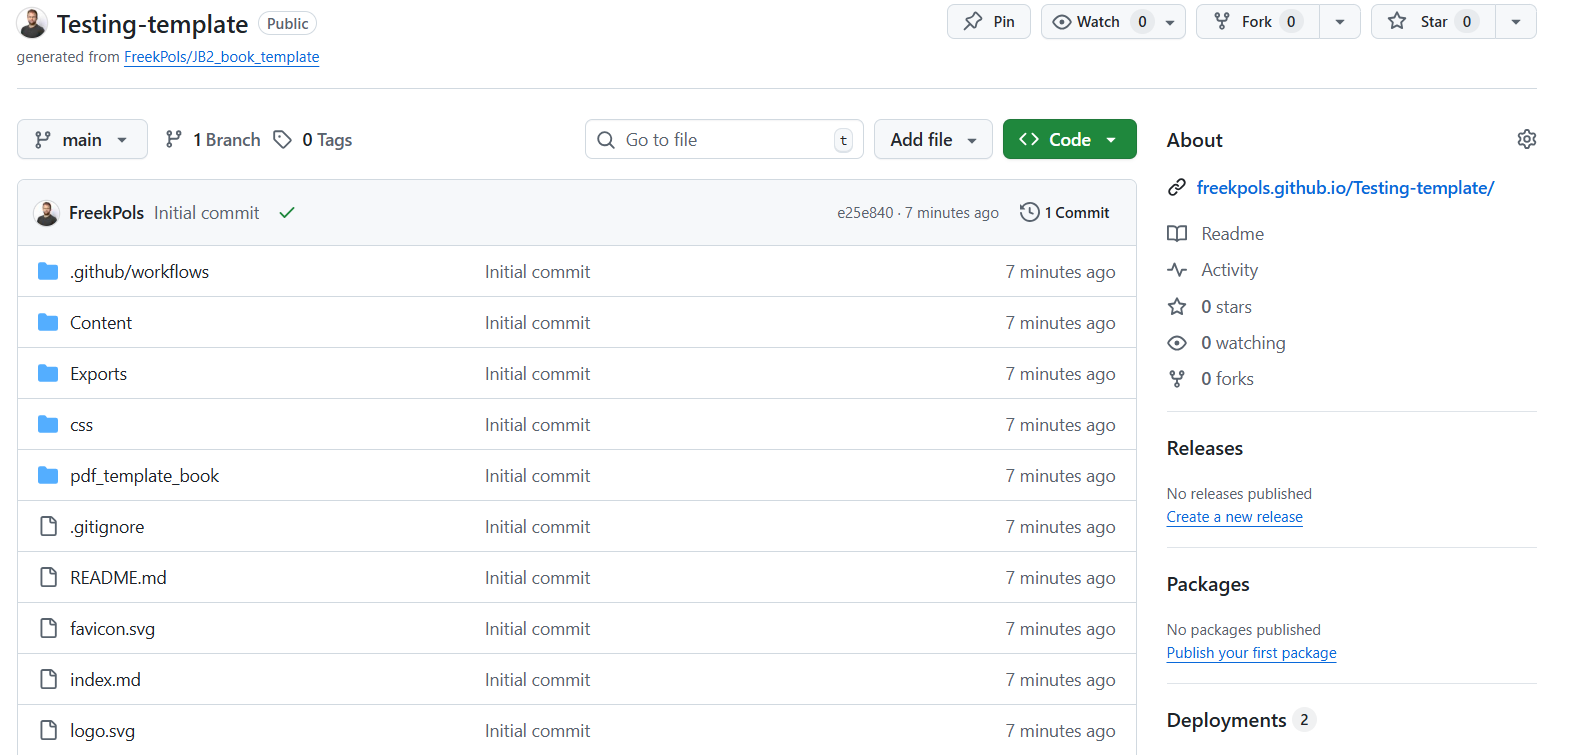
Figure 4:Once the book has been deploy, you can visit your site which looks like this.
Make and deploy changes
You have a number of options for making changes to the book’s source and seeing how they affect the output.
It is possible to work directly in the GitHub environment: no need to install anything as this is already covered with the GH Actions that we created.
Click on the index.md file in the Content folder
Click on the drop down icon next to the pencil icon and choose
open in github.devThis will start the GitHub development environment where you can edit the files directly in your browser.Edit the file by replacing the names with your own and commit your changes, see Figure 5
Figure 5:Working directly in the GitHub development environment.
Now, if you go back to your repository and click on Actions you will see that the workflow is running to build and deploy your book. After a few minutes, you can refresh your book page and see your changes live!
You can also make changes locally then push them back to your GitHub repository.
Clone the repository to your local machine using Git.
git clone git@github.com:<github_user_name>/JB2_book_template.gitMake changes to the content files in the
contentdirectory using your text editor.Commit and push your changes. For example
git commit -a
git push -u origin main
Now, if you go back to your repository and click on Actions you will see that the workflow is running to build and deploy your book. After a few minutes, you can refresh your book page and see your changes live!
If you prefer, you can also work entirely locally using command-line tools and a text editor.
Clone the repository to your local machine using Git.
git clone git@github.com:<github_user_name>/JB2_book_template.gitInstall MyST Markdown. Using
npmorpip
npm install -g mystmdpip install mystmdMake changes to the content files in the
contentdirectory using your text editor.Serve the book locally.
myst startPreview the book in your browser at
http://localhost:3000
Create a pdf export
A clear advantage of JB2 over JB1 is the ability to easily create a high quality pdf export of your book (as well as other formats). We included a GitHb Action workflow that automatically creates a pdf export of your book using Typst when you push changes to your repository. You can also create the pdf locally if you have the Typst CLI installed. We cover the pdf export later in more detail